
Find your connection to the world’s waters and to one another
Through the water, we are one city, one region, one nation, one world. Find your own connection to the world’s waters and, ultimately, to each other.
Plan Your Visit
The Mariners’ MilKids Fest
April 14 • 12 p.m. – 4 p.m.
A Day of Celebration: Taking Care of Military Children
Join us as we honor children of military service members and recognize the many sacrifices military families make. Along with useful resources and information from trusted community partners, families will be welcomed with fun outdoor activities, free admission to the Museum, & more!
Upcoming Events
Women’s History
We’re highlighting women’s incredible contributions to maritime history. From artwork to expeditions to military service, discover the inspiring – yet often untold – stories that have shaped the past and continue to impact the present and future.
Latest Posts


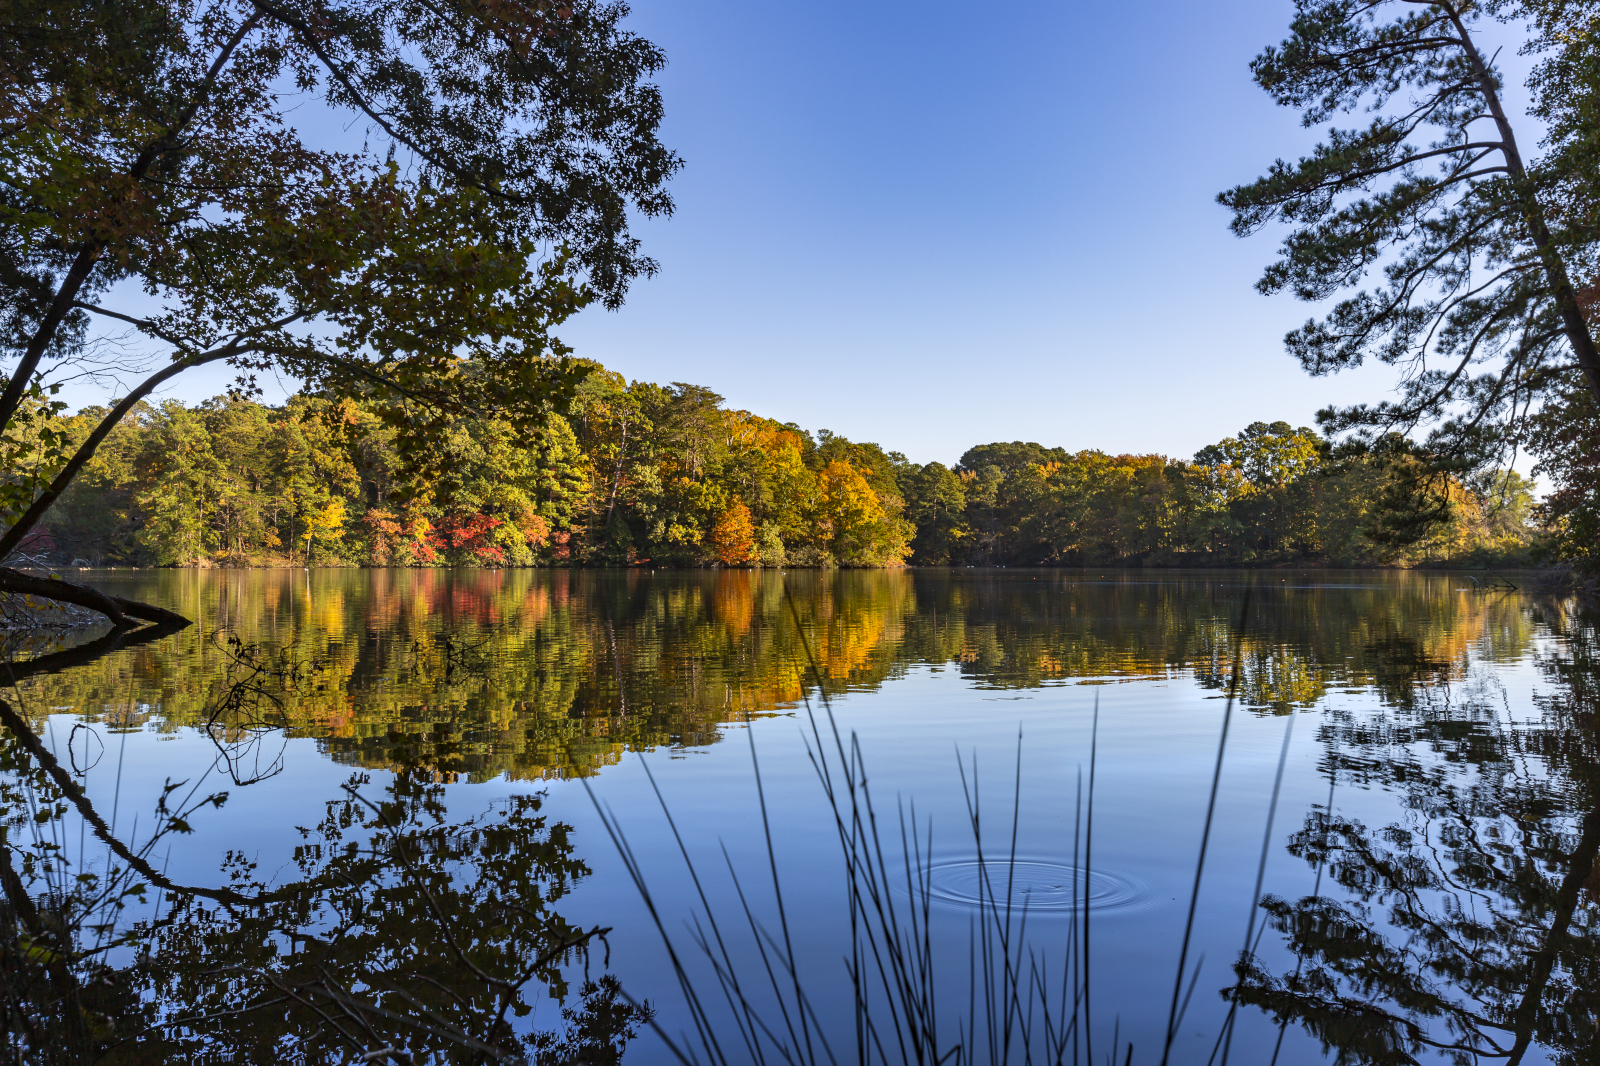
Connect through Nature
The Mariners’ Park
One of the nation’s largest privately owned and maintained parks. Free and open to the public.
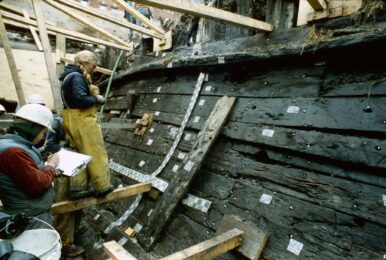
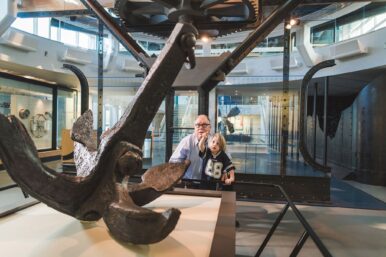
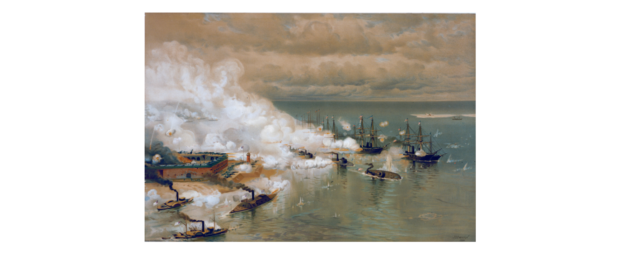
USS Monitor Story
Monitor’s legacy is all about people. From the heroes who fought for national unity to the engineers who created a technological marvel to the conservators preserving its story today, Monitor’s story is our story.

Connect through Art
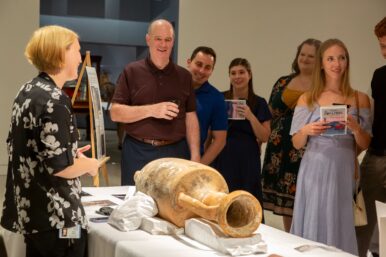
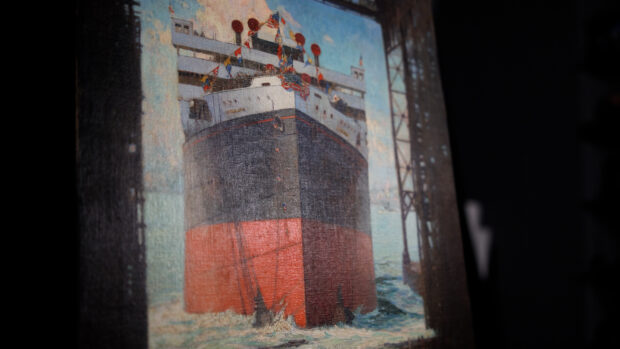
Beyond the Frame
Join us behind the scenes to explore The Mariners’ Collection and discover stories that lie beyond the frame.